How to Bake Hockey Skates Safely
A new pair of skates can feel great in the store and completely different by the second lap. That is usually why players ask how to bake hockey skates in the first place - not for extra speed, but for a closer fit, less break-in pain, and better heel lock from day one.
Baking works because many modern hockey skates use thermoformable materials in the boot. With controlled heat, the quarter package, ankle padding, and foam areas soften just enough to shape more closely to your foot. Done properly, baking can improve comfort and reduce pressure points. Done poorly, it can damage the boot, weaken adhesives, or create a fit problem that did not exist before.
That is the first thing worth understanding: not every skate should be baked at home, and not every fit issue gets fixed by heat. If the skate is the wrong size, the wrong width, or the wrong profile for your foot, baking may help a little, but it will not turn a poor fit into the right one.
What baking hockey skates actually does
When people talk about baking hockey skates, they are usually talking about heat molding the boot. The goal is to make the skate wrap your foot more naturally around the heel, ankle, and forefoot. For many players, that means less negative space inside the boot and a more connected feel on the ice.
This matters most in skates that are already close to the correct fit. A properly sized skate that feels a little stiff or creates mild hot spots is a good candidate. A skate that crushes your toes, leaves your heel floating, or causes major pain after a few minutes is a different issue.
Goalies and players should think about baking the same way - as a fine-tuning step, not a shortcut around proper fitting.
Should you bake hockey skates at home?
Sometimes yes, but this is where experience matters. The safest option is always to have skates baked by a pro shop that knows the brand, the materials, and the correct heating range. Different models respond differently to heat, and some higher-end skates can be more moldable than entry-level boots.
Home baking is usually considered when the skates are specifically labeled heat moldable and the manufacturer allows it. Even then, there is some risk. Household ovens can run hot, cycle unevenly, and expose the skate to more heat than intended. That can warp holders, loosen eyelets, separate glue, or soften structural areas too much.
If you are dealing with expensive skates, youth skates you expect to pass down, or a player with a difficult fit history, professional baking is the better move.
How to bake hockey skates at home
If you are going to do it yourself, keep the process controlled and conservative. The biggest mistakes usually come from too much heat and too much time.
Start by checking the manufacturer guidance
Before anything goes in the oven, confirm that the skate is heat moldable and review the brand's instructions. Some manufacturers provide a recommended temperature and time range. If they say not to use a home oven, take that seriously.
Remove any blade guards, loosen the laces several eyelets down, and make sure the skates are clean and dry. If the footbeds or insoles are removable, you can usually leave them in unless the manufacturer says otherwise.
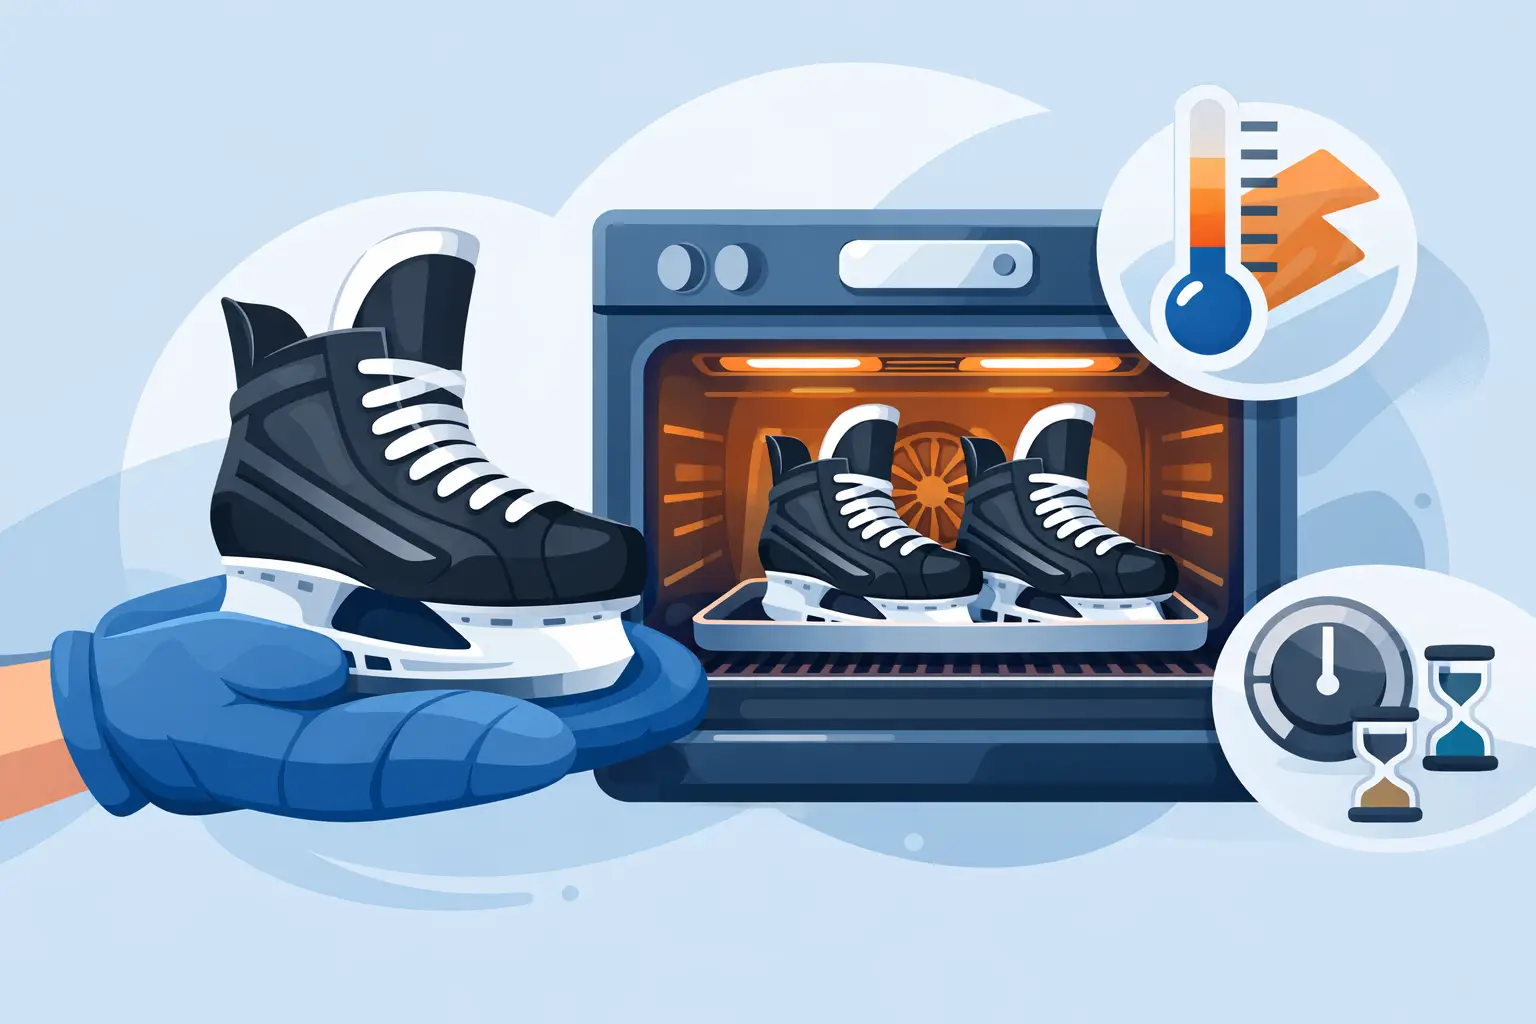
Preheat carefully
A common home range is around 175 to 200 degrees Fahrenheit, but you should always defer to the skate brand's guidance first. Let the oven fully preheat, then turn it off before placing the skates inside if the instructions recommend residual heat only. That extra caution can help avoid hot spots from active heating elements.
Never use a microwave. Never use a toaster oven. And do not place skates near exposed elements.
Heat one skate at a time
Place one skate on a clean baking tray or a towel-covered surface if appropriate for your oven setup. Leave it in only for the recommended time, often around 2 to 5 minutes depending on the model. You are trying to soften the materials, not cook the boot.
When the skate is ready, it should feel warm and slightly more flexible, not collapsing or extremely soft. If it looks misshapen or smells strongly of glue, stop.
Put the skate on properly
Wear the same thin hockey socks you would normally skate in. Slide your foot in gently and tap your heel back so it sits in the pocket correctly. Lace the skate snugly, but do not overtighten it. This is a key detail. Pulling too hard while the materials are soft can create lace bite pressure or distort the eyelet rows.
Stand in a natural hockey stance with knees slightly bent. Stay off the ice and avoid walking around. Most players should remain seated or stand lightly for about 10 to 15 minutes while the boot cools and shapes to the foot.
Then repeat the process with the second skate.
Common mistakes when baking hockey skates
The most common mistake is assuming more heat gives a better mold. It does not. Excess heat can break down glues, deform the boot, and shorten the life of the skate.
Another mistake is cranking the laces as tight as possible. Players often do this because they want maximum wrap, but while the boot is soft, too much tension can create new pressure points instead of solving old ones.
Parents sometimes make a different mistake with youth skates by baking a pair that is already too big in hopes of making them work for another season. That usually leads to poor heel lock and unstable skating mechanics. Growing room and performance fit are not the same thing.
It is also worth mentioning that baking will not fix sharpening issues, profiling issues, or pain caused by poor skating posture. If the skate feels unstable on edges or the player is getting unusual fatigue, the problem may not be the boot at all.
When a pro shop is the better option
There are good reasons many players still prefer pro shop baking, even if home baking seems simple. A shop can confirm whether the skate actually needs molding, monitor the heating process, and help with fit details right after the bake. That includes tongue position, lace tension, footbed setup, and identifying whether the pressure point is from fit or from the way the skate is being worn.
This matters even more for players with wide forefeet, narrow heels, pronation issues, or previous skate discomfort. In those cases, baking may be only one part of the answer. You may also need custom insoles, punch work, or a different skate family entirely. That is where a hockey-specialist shop like Majer Hockey adds real value, because the service goes beyond the sale.
How long does the baked fit last?
Once molded, the fit changes are generally meant to stay with the skate. The boot will continue to break in naturally with use, but the baked shape does not simply disappear after a few sessions. That said, some players do get a second bake later on if the manufacturer allows it.
A second bake can make sense if the first one was rushed, if the player changed insoles, or if the fit still needs minor refinement. It should not be a routine habit. Repeated heating can wear down materials over time.
Signs your skates may need more than baking
If your toes are heavily curled, your heel lifts on every stride, or your arches ache within minutes, the issue may be sizing or skate shape. If you have numbness across the forefoot, you may be dealing with width or volume. If pain is sharp and isolated around an ankle bone or forefoot spot, selective punch work may help more than another bake.
That is the trade-off with heat molding. It is useful, but it is not magic. The better the fit before baking, the better the result after.
A properly baked skate should feel more connected, not dramatically different. You want a close heel, secure ankle wrap, and reduced break-in stiffness without creating new pressure. If you are unsure, that is usually your answer - get a second opinion before adding heat. A good pair of skates is one of the most important equipment investments a player makes, and getting the fit right is worth the extra care.


